Sometimes, you have to postpone your plans.
Take for example yesterdays plan to draft a pattern. My daughter wasn’t feeling well so I decided to hold off the pattern drafting until a later date.
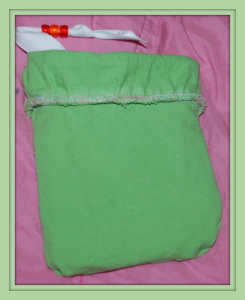
I did make another “medicine bag”. It wasn’t a project that would be time-consuming and I could still be the mother hen and hover about my daughter. The result? My daughter loves the second bag even more than the first. In fact, she asked me could she swap! Sighs… kids!

And so my daughter has a new bag. Can you spot the difference? It’s nothing major.

Check out my earlier post. You’ll see that the lining is different from the first bag that I wrote about here. See? Also, with this bag, I used twill tape on the raw edges. I hand basted that into place, but I still need to go back and secure it with the sewing machine.

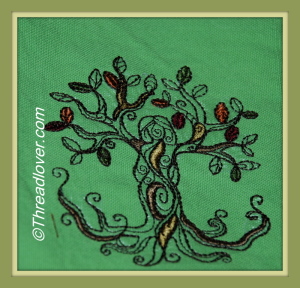
If you look closely, you might see the chalk markings on the above bag. Anyone that machine embroiders knows it’s a smart idea to always mark the design placement for your embroidered design. In a pinch, I’ve used a pencil and that normally washes out without an issue, but this time, I decided to see how I liked chalk. After all, I use chalk to mark the various items that I sew. While I do have chalk on hand, I decided I wanted to try it in a different form.
Here’s what I purchased…
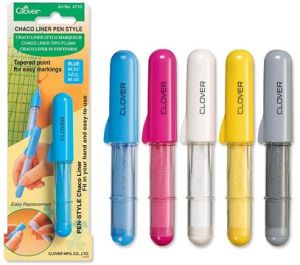
Clover Chaco Liner
It’s a chalk pen! Neat right? Regardless of how “awesome” the concept might be, the proof is in how the item performs. Right? Also, I was curious to see how easily the chalk marks was removed from the fabric.
How does it work?
The chalk powder is dispensed via a serrated wheel. As you roll the pen along, the chalk comes out in a very fine line. I love it! Even better, this is refillable. The chalk color for this pen is silver, but I’ll be purchasing a few additional colors.
Verdict:
This chalk marker worked just like a pen and, once washed, the chalk came out of the cloth. Yes!!!
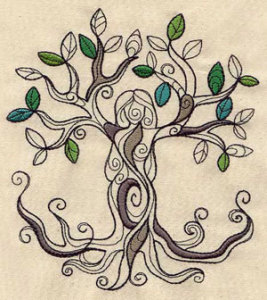
I really like making small projects like these. It’s a way to keep me doing something I enjoy. This “small project” was created using my embroidery machine, sewing machine, hand sewing and a crocheted draw string. A lot of detail went into this “small project,” right?
The next bag I make, I’ll use some of the fabric I wove on my loom.


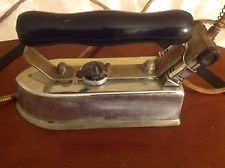
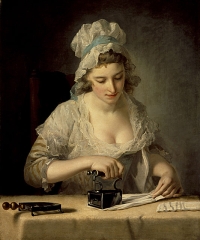 Many of my sewing accessories are vintage. I use them because of their quality. I often wonder about the history of the items I own. Who used them before? How often did they use them and what was their life like?
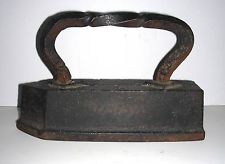